Studio Interface
ConsoleX AI has a workspace that is simple on the surface but powerful in practice. It is not just a chat box—it is a control center for orchestrating models, tools, and Agents through conversation.
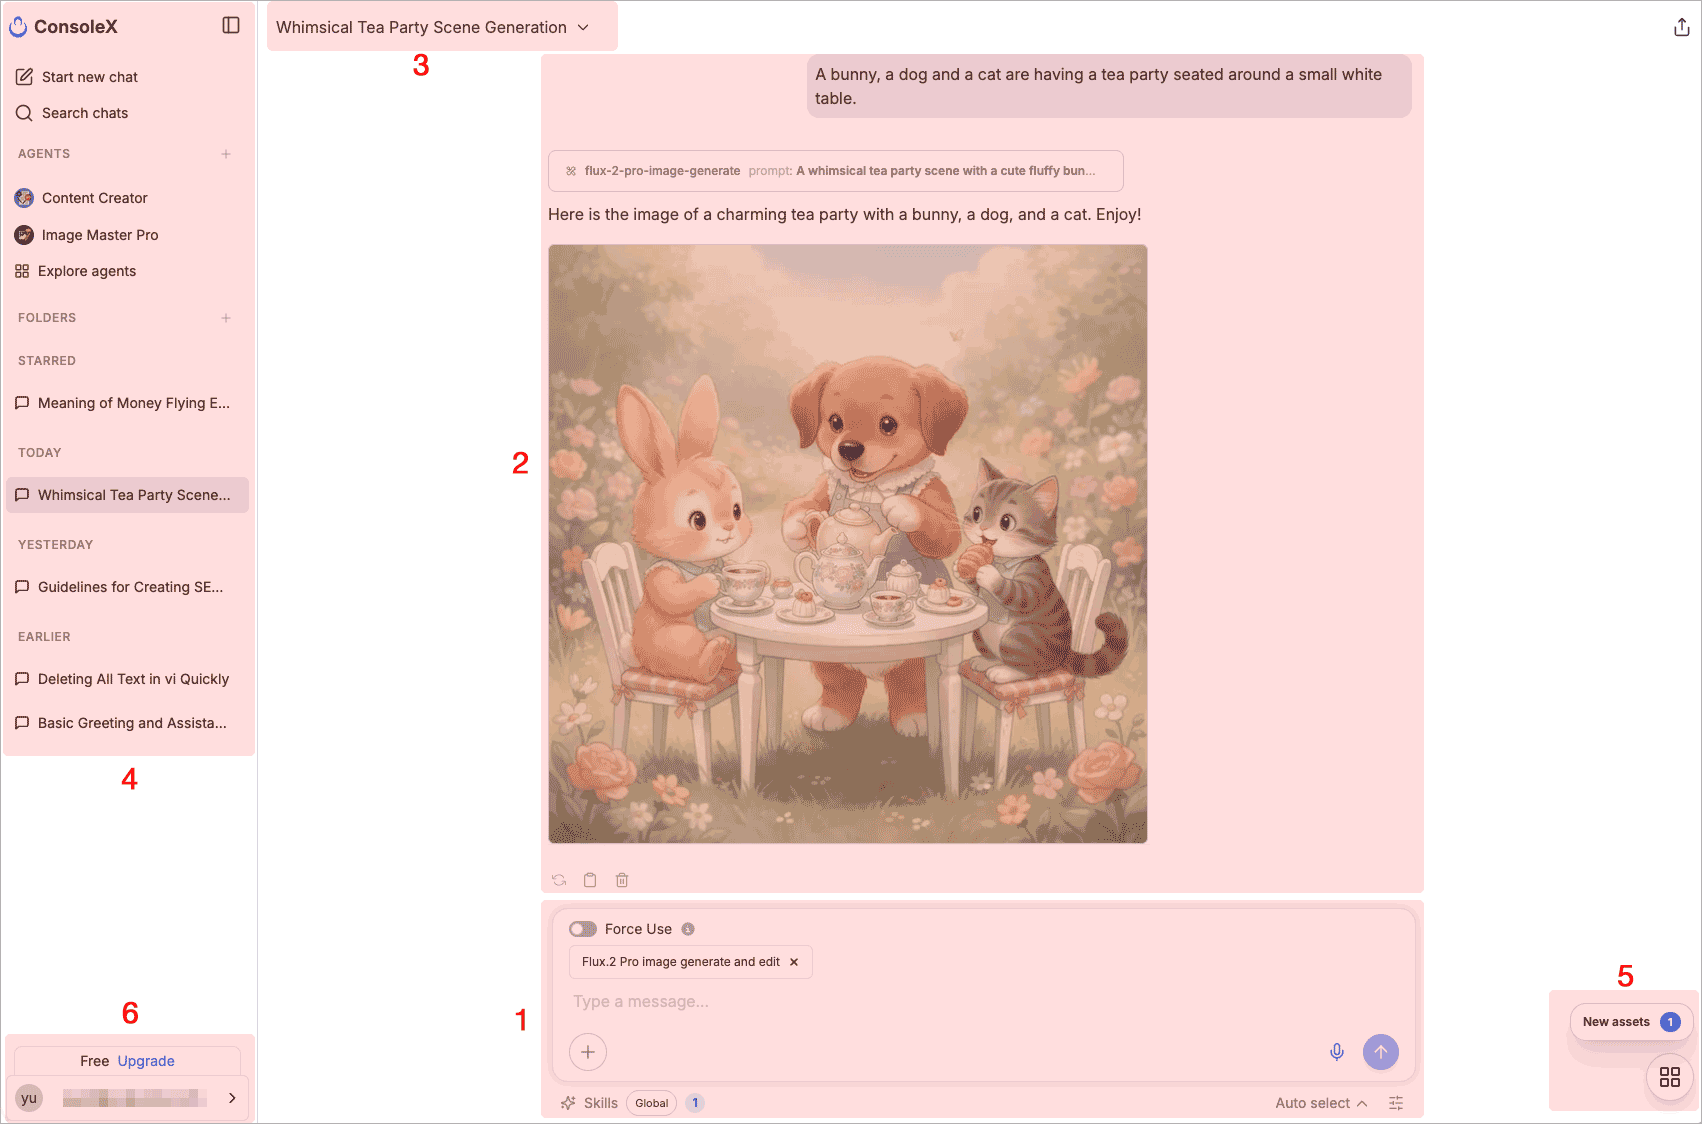
Here is a walkthrough of the main areas in the workspace.
1. The input area
At the bottom of the page, you can chat with AI in real time using the message input box. It supports natural language input and keyboard shortcuts for sending messages.

Click the + button in the lower-left corner of the input box to open the add menu. From there, you can attach files and tools to the current conversation so the model can work with them directly.
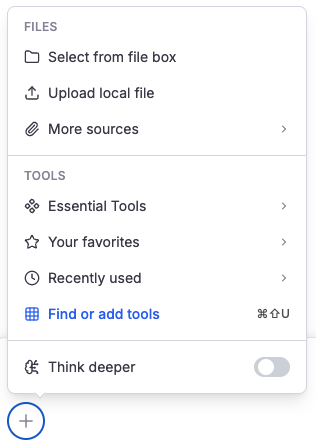
For more complex questions, you can also turn on deeper reasoning so the model spends more time analyzing before it responds.
Below the input area, ConsoleX shows how many Skills are available in the current conversation. Click that area to open the Skill panel and adjust which Skills are enabled.
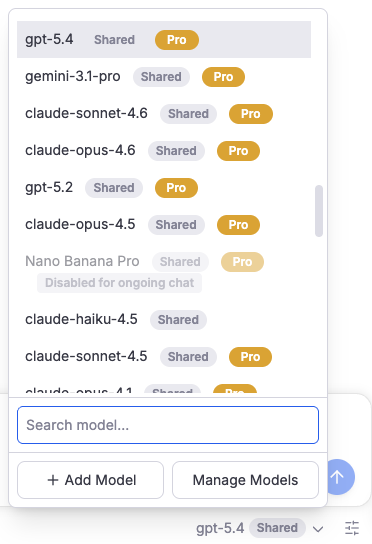
On the lower-right side, you can choose a model, switch to a different one at any time, adjust conversation parameters, and open the entry points for model management and custom model setup.
The tool panel is also integrated into the add menu. Click Find or add tools to browse, search, and manage preset tools and hosted MCP servers, or to add your own custom tools and MCP servers.
You can star frequently used tools and MCP servers with the icon so they are easier to find later.
2. Message list, regeneration, and message actions
The main center area shows the current conversation history, including your messages and model responses.

Under each model response, click the icon to regenerate with another model and compare results side by side.
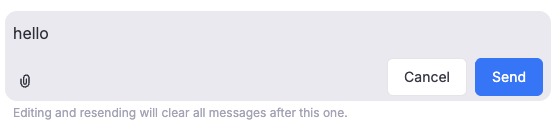
When you hover over a user message, you can access actions such as edit, copy, and delete. Editing a user message lets you regenerate the conversation from the updated prompt.
3. Conversation title, quick actions, and system prompts
ConsoleX automatically generates a title for each conversation group. The title bar also includes quick actions such as renaming, starring, creating a scheduled task, exporting, and deleting.
When you hover over the title area, you can also add or edit the system prompt for the current conversation.
4. Conversation history, starred chats, and folders
The left sidebar shows your conversation history and gives you quick access to starting a new chat, searching chats, starred chats, and folders.
You can star important conversations and organize them into folders for easier retrieval later.
5. The “My Stuff” panel
At the bottom-right corner of the main interface, click the icon to open the My Stuff panel as a floating drawer on the right side.
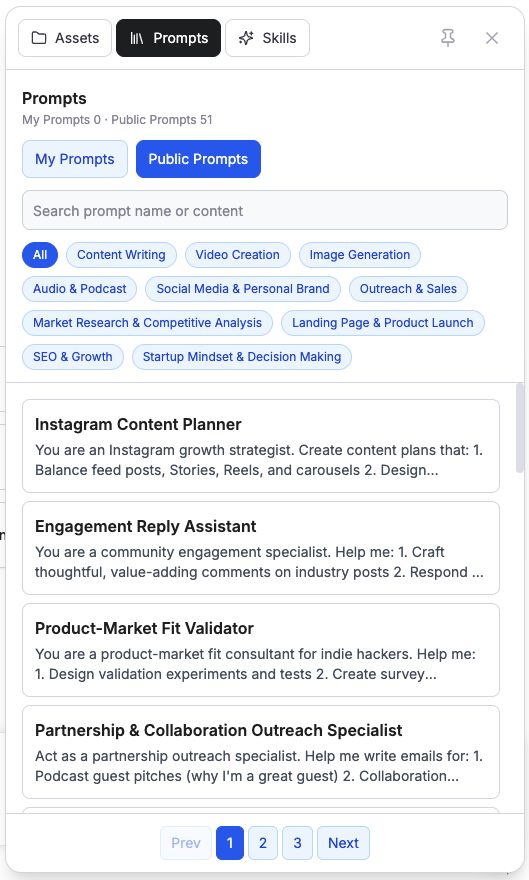
Inside the panel, you can manage:
- Assets: files, images, audio, video, and other resources you uploaded or generated.
- Prompts: preset system prompts plus your own custom prompts.
- Skills: preset Skills plus your own uploaded custom Skills.
6. Settings, plans, and credits
In the lower-left corner, you can open the settings menu. It includes access to account settings, your current plan, credits and usage, model management, the help center, and profile-related settings.